

10/07/2024
Angular 17: A New Standard for Front End Development
09/02/2024
Explore the innovations in Angular 17, from enhanced integrated control flow to the Server-Side Rendering revolution. Angular 17 promises an unprecedented development experience. Find out more, read on!

Table of Contents:
- A new look for Angular v17
- Mastering the Integrated Flow: Integrated Control in Angular 17
- Signals! Signals everywhere!
- Server-Side Rendering: behind the scenes of Angular 17
- Angular v17: a review
With its recent 13th anniversary, Angular looks to the future with the release of version 17. The Google team has highlighted targeted optimization, reducing bundle size for a more efficient development experience. The new declarative and intuitive control flow, along with the widespread adoption of Signals, promises a quantum leap in performance.
Angular 17 marks a new era, combining a modern approach, a revamped logo, and state-of-the-art documentation.
An exciting new chapter in the evolution of front-end development.
A new look for Angular v17
Angular also carried out a rebranding of its logo, since the framework's inception it had never been changed. The new Angular logo, created by Google, features a more modern and colorful design that represents the evolution of Angular and the beginning of a new season for the framework. We also find this change in the documentation.
New look for Angular v17
Source: Angular.Love
New look, new documentation
In addition to the logo, the beta documentation also has a new home (angular.dev). Future-oriented, this platform offers not only new guides and improved content but also an interactive learning path designed to assist future developers in studying this framework.
Thanks to the new documentation, you now have the ability to use the full power of Angular CLI in any modern web, thanks to WebContainers.
Impor WebContainers Angular 17 Source: Angular.dev
Mastering the Integrated Flow: Integrated Control in Angular 17
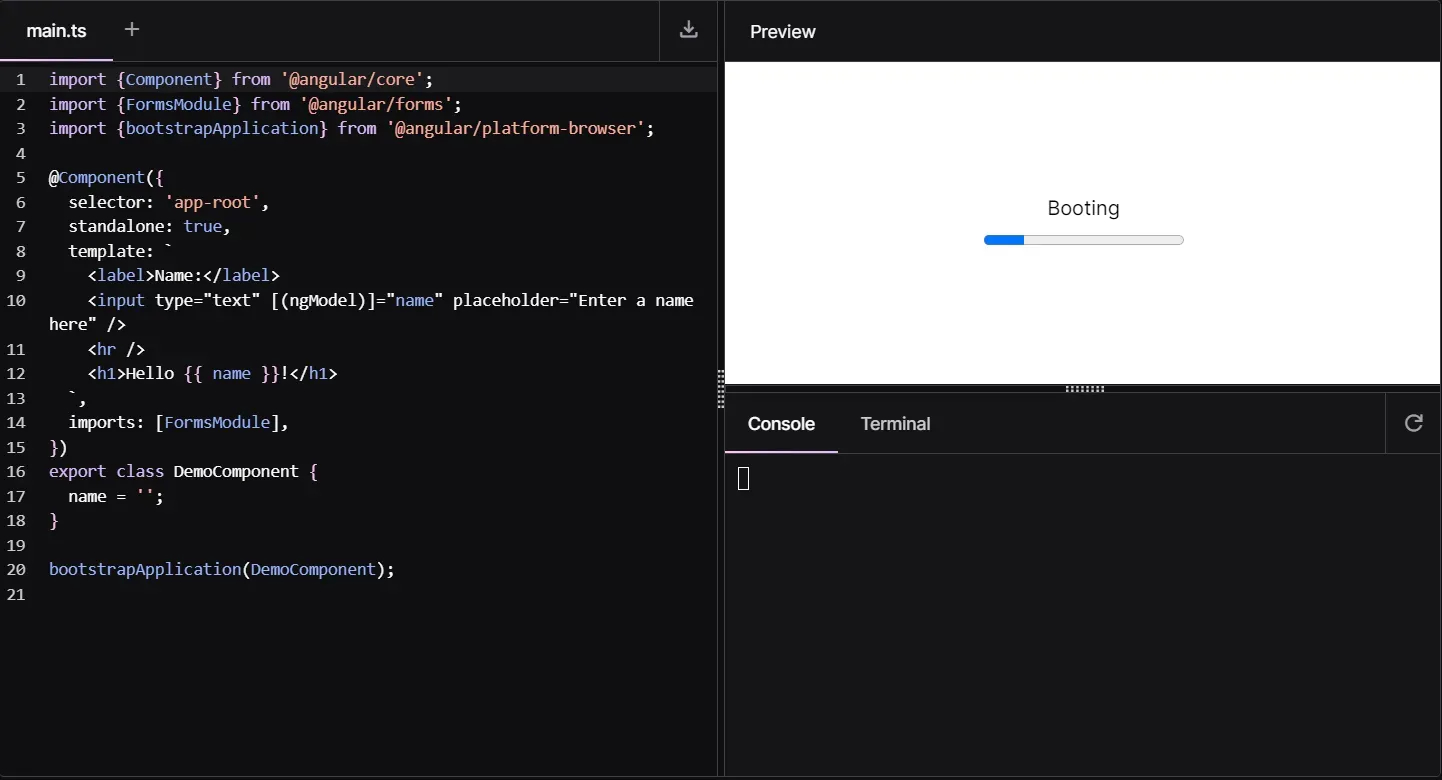
The Angular team has aimed to make thedevelopment experience much more declarative through a new syntax. This, offers powerful functionality with simplified APIs, moving much closer to the JavaScript world for component-integrated control flow management, lazy loading and more.
Masters of Control: @if, @switch, @for
For those who have been familiar with Angular for some time, they are used to the use of structural directives for conditional control, loops and cases.
Until versions 16 *ngIf, *ngFor, *ngSwitch were the main characters in HTML files in Angular components.
We are used to seeing such a situation:

*ngIf Angular 16 directive
Now let's translate the code of the first image into Angular 17:

Directive @if Angular 17
With @if, the code is much cleaner and more readable, especially for those coming from the JavaScript world. In addition, being able to take advantage of @else gives us a huge advantage in terms of writing, as we are no longer forced to use ng-template, which can sometimes, in large applications, create confusion within HTML files.
The declarative power of the new syntaxilocan be seen even more in the @switch case; let's take an example where we need to manage different components based on the user's access level:

Angular 16 *ngSwitch directive

Angular 17 @switch directive
For those familiar with the JavaScript world, these lines of code will be very familiar to them.
Having the ability to use statements thatare easily recognized by devs certainly reduces development and learning time, but it also creates greater consistency in components.
Also, it should be mentioned that @if, @for and @switch, unlike *ngIf, *ngFor and *ngSwitch, do not need to be explicitlyimported into standalone components, but are directly usable in all templates.
Let us now analyze the built-in for loop, always making a difference between Angular version 17 and its predecessors:
Angular 16 *ngSwitch directive

Angular 17 @switch directive
We also note here a similarity to the loop forOf present in JS. In @for the inclusion of track becomes mandatory, which allows us to have better performance.
Again, the ability to handle an empty array with @empty was added, which still remains an optional block.
Most anticipated news: @defer
@defer writes the future of lazy loading in Angular!
With the inclusion of theblock structure, the Angular team has developed a powerful new mechanism for making applications faster. Thedevelopment experience for developers goes to the next level, having the ability to harness the declarative power of the new syntax.
Suppose we want to manage a list of comments below a post; with @defer, we can tell Angular to load it in lazy with all its dependencies in one line:

Lazy loading @defer Angular 17
All this is simple to us with this structure, but under the hood Angular does so much work, generating dynamic imports and handling the process of slow loading and changing states.
@defer's revolution: Triggers and Blocks in Angular 17
With @defer, Angular also gives us the ability to use triggers and additional blocks for placeholder, loading and error handling.
When an @defer block is triggered (triggered for the more experienced xD), the placeholder will be replaced with the lazy view we have declared. There are two configuration options when the replacement occurs, and they are: on and when.
Below we have an example, with on, of what the code would look like if we wanted the user to see a list of comments only to a particular viewport of the using device:

Lazy loading @defer Angular 17
The Angular team has done significant work to enable slow loading of a DOM element, at a given viewport, by leveraging the IntersectionObserver API. This API allows you to monitor when an element enters or leaves the visible area of the web page. I invite you to explore it further by making it exploitable as a trigger.
Here, some triggers you can use with on for lazy loading :
- on immediate: starts lazy loading automatically, without blocking the browser
- on idle: lazy load the reference block when the browser is not performing heavy operations
- on timer (<time>): si ritarda il caricamento con un timer
- on viewport e on viewport (<ref>): viewport permette anche di caricare in lazy un elemento di riferimento (<ref>) quando esso è disponibile
- on interaction e on interaction (<ref>): il caricamento lazy si attiva quando l’utente interagisce con un dato elemento
- on hover e on hover (<ref>): permette di attivare il lazy quando l’utente passa il mouse su un elemento
As anticipated, @defer gives us the possibility to use other blocks for more comprehensive management, we will mainly have four of them: @defer, @loading, @error and @placeholder. Here again the power of syntax takes the lead, and the role of each block is immediately apparent.
Initially, Angular will show @placeholder; the moment there is the correct viewport, @placeholder will be replaced by @loading, and if all goes well and there are no errors in loading, it will give way to the @defer block; otherwise, the @error block will be shown.

Lazy loading @defer Angular 17
With @defer you can also use when, which unlike on, will cause the block to be triggered by an expression that returns a boolean value. So only if the condition is true will slow loading occur, as in the following example:

@defer, condition when Angular 17
On and when can also be used simultaneously, but the @defer block will be displayed only if either condition is met:

@defer, on viewpoert and when Angular 17
Prefetching: make your Apps Agile with @defer!
In @defer, you can specify with conditions when lazy loading should occur; we have already seen this with on and when. In Angular 17, there is also another keyword that can be used in conjunction with on and when, and that is prefetch.
Prefetch enables more advanced behaviors, such as preloading resources before the user sees and/or interacts with an @defer block, thus making certain resources available more quickly.

@defer, Prefetch Angular 17
Signals! Signals everywhere
For those of you who have already approached Angular version 16 or 17, you will surely have heard about Signals (perhaps all too much xD) and the benefits they can bring to our applications. But let's go in order and try to understand why it is so important to start considering the signals approach, especially since they will gradually become more and more of a standard. Spoiler: in Angular 17 they already are!
What are Signals?
We can imagine a Signal as a wrapper around a value, capable of alerting users when that value undergoes a change. Signals can contain any type of value ranging from primitives to complex data structures.
Signals can be of two types, writable or read-only. Let us now see what the main differences are.
I Writable Signals in Angular v17
Writable signals give the ability, via a function, to update their value directly. To create writable signals we simply call the signal function, which will contain an initial value (somewhat like BehaviourSubjects).

Create writable signal Angular 17
We can also set a new value and do an update to the current value, with .set(), .update(), let's see how to do that in Angular 17:

.set(), Angular 17

.update(), Angular 17
Computed Signals
Unlike writables, computed signals cannot have an initial value, but their value is always derived from other signals.

Computed Signals, Angular 17
The value of the doubleCount signal will always be dependent on the count value , which Angular will update whenever it changes.
Why do signals improve your life? ... And the code
The main reason is performance!
Angular, when a change occurs in a component, does an app-wide check-in to see if that event affects other components. From this behavior we can see that performance definitely suffers(of course we are talking about really large apps/web apps), which with signals, we can at least partially, reduce.
In fact, Angular, when the state of a signal changes, will make checks only to the connected components, avoiding unnecessary checks.
It sounds like something superfluous for small projects, and indeed it might be, however imagine having to manage applications with hundreds or thousands of components, having signals is an advantage!
Server-Side Rendering: behind the scenes of Angular 17
With the release of version 17, Angular introduced significant simplifications in the management of server-side rendering (SSR), promising an improved experience for both users and developers.
With this new version, Angular aims to simplify and streamline the SSR process, promoting greater efficiency and a better user experience (UX).
What is SSR in Angular 17?
On the server-side Server-Side Rendering is process that involves rendering the pages of an app, resulting in initial HTML content that contains the initial state of the page. Once the HTML content is delivered to the browser, Angular initializes the app and uses the data contained in the HTML.
In other words, the server-side SSR takes care of preparing the page with all the necessary information, thus reducing the dependence on fully loading the JavaScript file in the browser.
Improving performance with SSR
Server-Side Rendering (SSR) offers a number of significant advantages over Client-Side Rendering (CSR), including:
- Unprecedented performance:
SSR contributes to the enhancement of applications by providing redirected HTML directly to the client. This, allows the content to be read and parsed before the JavaScript is loaded, resulting an advantage for all those users who have a slow connection on mobile devices.
- Core Web Vitals improved:
The implementation of SSR results in performance improvements that can be evaluated using Core Web Vitals (CWV) statistics, such as: reduction in First Contentful Paint (FCP), Largest Contentful Paint (LCP), and Cumulative Layout Shift (CLS).
- Best Seo:
SSR contributes to Search Engine Optimization (SEO) of applications by facilitating the indexing of application content by search engines, improving visibility and ranking in search results
The adoption of SSR not only optimizes application performance, but also has positive impacts on the overall user experience and online visibility through search engines.
How to build an SSR app
Per i nuovi progetti abbiamo due possibilità per impostare le applicazioni in SSR, la prima è, nel momento in cui creiamo un nuovo progetto con Angular CLI, aggiungere dopo ng new <AppName>, – -ssr:

Setting up applications in SSR, Angular 17
If we forget to enter - -ssr, the CLI will ask us later if we want an app in SSR:

Message CLI, Angular 17
Otherwise, if the project has already been initialized without SSR, again via CLI we will find it very easy to add it later:

Add SSR at a later date
Angular v17: a review
Here we are, drawing conclusions about the work the Angular team has done with the release of version 17.
As we have seen, the new features are not few, but as we know Angular never ceases to surprise us (for better or worse xD)!
Starting with the new logo, going through the new documentation, new control flow, Signals, and SSR you can see how the team is trying to make the framework more and more accessible and performant, especially to keep up with the needs of the modern web.
As a developer, in my opinion these updates were necessary, especially considering the new built-in control flow syntax, which makes development more pleasant, readable, and performant.
I hope you enjoyed this little journey inside Angular 17, although there would be insights to be made; but who knows, maybe in the next article!
If you have already had a chance to use/study the latest version, I invite you to share feedback and opinions about it, but most importantly to learn more about all the new possibilities it offers us if you haven't already!